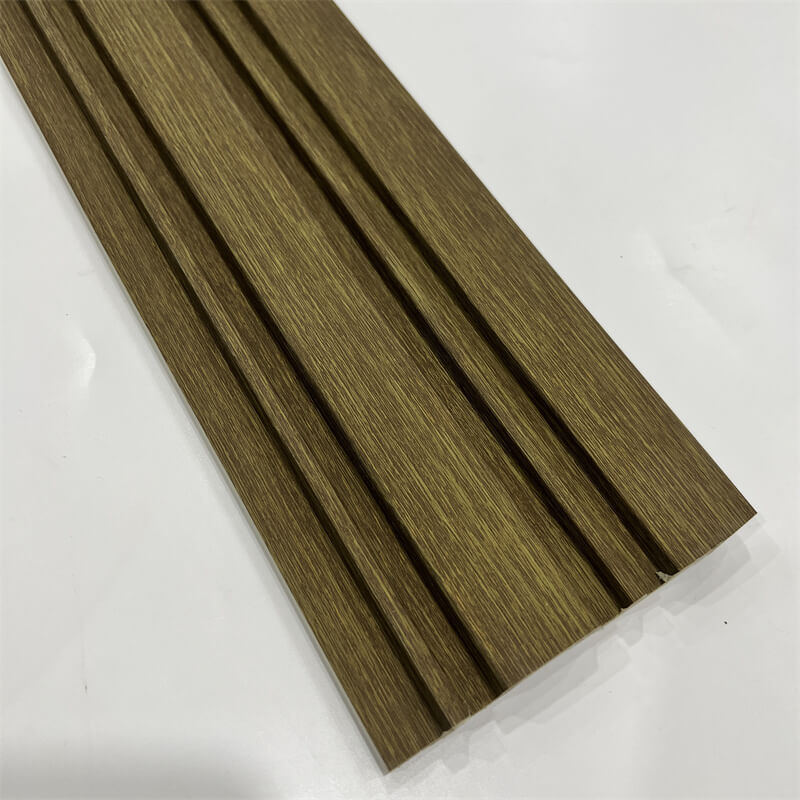
PS (polystyrene) wall panels have gained popularity for their versatility, durability, and aesthetic appeal.
Whether you’re looking to enhance the look of your home, office, or commercial space, installing PS wall panels can be a great way to achieve a stylish transformation.
If you’re considering installing PS wall panels but are unsure of the process, this step-by-step guide will walk you through the installation process, ensuring a successful and seamless result.
From preparation to finishing touches, let’s explore how to install PS wall panels effectively.
I. Step 1:
Preparation Before starting the installation process, it’s crucial to prepare the space and gather the necessary tools and materials.
Here are the steps involved in the preparation stage:
Measure and plan: Measure the dimensions of the wall area where you intend to install the PS wall panels.
Plan the layout and design, considering the placement of electrical outlets, switches, or any other fixtures that need to be accommodated.
Clear the area: Remove any existing wall coverings, such as wallpaper or paint.
Ensure the wall surface is clean, dry, and free from dust or debris.
Acclimate the panels: Allow the PS wall panels to acclimate to the room temperature for at least 24 hours.
This step helps prevent expansion or contraction of the panels after installation.
Gather tools and materials: Gather the necessary tools and materials for the installation, including PS wall panels, adhesive or nails, measuring tape, level,
cutting tools (such as a utility knife or saw), adhesive applicator or nail gun, and safety equipment.

II. Step 2:
Installation Once the preparation stage is complete, you can proceed with the installation process.
Follow these steps to install PS wall panels effectively:
Start from a corner: Begin the installation from a corner of the wall.
Apply a thin layer of adhesive evenly on the back of the first panel or use nails to secure it in place.
Ensure the panel is level using a spirit level.
Interlock the panels: For interlocking panel designs, slide the next panel into the groove of the previous one, aligning it vertically and horizontally.
Ensure a tight and seamless fit. Use adhesive or nails to secure the panels as needed.
Cutting and trimming: When encountering obstacles like outlets or switches, measure and mark the area on the panel where the opening needs to be made.
Use a cutting tool to carefully cut out the marked area. Trim the edges of the panels as necessary to fit the wall dimensions.
Repeat the process: Continue installing panels row by row, ensuring they are level and securely attached.
Check periodically for any adjustments needed to maintain a seamless and even installation.
III. Step 3:
Finishing Touches After the PS wall panels are installed, it’s time to add the finishing touches to achieve a polished look. Follow these steps:
Fill gaps and seams: Use a quality filler or caulk to fill any gaps or seams between the panels.
Smooth the filler with a putty knife and let it dry according to the manufacturer’s instructions.
Sand and prepare for paint or finish: If you plan to paint or apply a finish to the PS wall panels, lightly sand the surface to create a smooth and even texture.
Remove any dust or debris before proceeding.
Apply paint or finish: Apply your desired paint color or finish to the PS wall panels using a brush or roller.
Follow the manufacturer’s instructions for proper application and drying time.
Clean and admire: Once the paint or finish is dry, clean the panels to remove any dust or residue.
Step back and admire your newly installed PS wall panels, which have transformed the look of your space.

IV. Step 4:
Maintenance and Care To ensure the longevity and beauty of your PS wall panels, it’s essential to follow proper maintenance and care.
Consider these tips:
Regular cleaning: Clean the panels regularly using a mild soap or detergent solution and a soft cloth or sponge.
Avoid using abrasive cleaners or harsh chemicals that may damage the panels.
Prevent damage: Take precautions to prevent any damage to the panels, such as avoiding sharp objects or excessive impact.
Address any issues promptly: If you notice any loose panels or damage, address the issue promptly to prevent further complications.
Secure loose panels with adhesive or nails, and repair any damage using appropriate methods.
Enjoy your transformed space: With proper care and maintenance, your PS wall panels will continue to enhance the aesthetic appeal of your space for years to come.
Installing PS wall panels is an effective way to transform the look of any space.
By following this step-by-step guide, you can confidently install PS wall panels and achieve a stylish and seamless result.
From preparation to finishing touches, each step plays a crucial role in ensuring a successful installation.
By investing time and effort into the installation process and properly maintaining your PS wall panels,
you can enjoy a beautiful and durable wall covering that enhances the aesthetic appeal of your home or commercial space.
